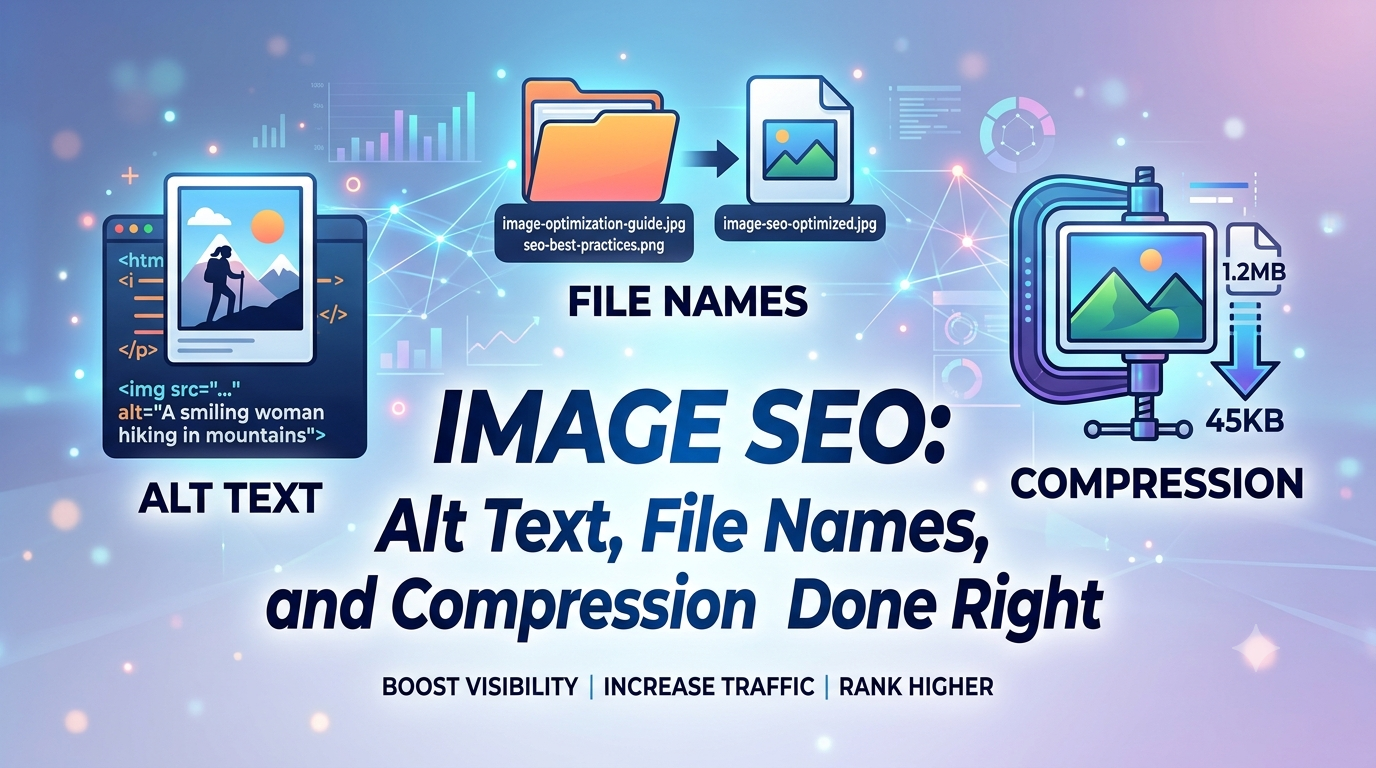
Images tend to be the most overlooked part of SEO, and one of the easiest to fix. Site owners will pour effort into headlines, headings, and body copy, then upload a photo straight off their phone named something like IMG_4832.jpg, skip the alt text entirely, and never revisit it. That oversight quietly costs you in three separate ways: missed Google Images traffic, slower page speed from an oversized file, and a worse experience for anyone relying on a screen reader. Fortunately, all three problems share the same small set of fixes.
Why File Names Actually Matter
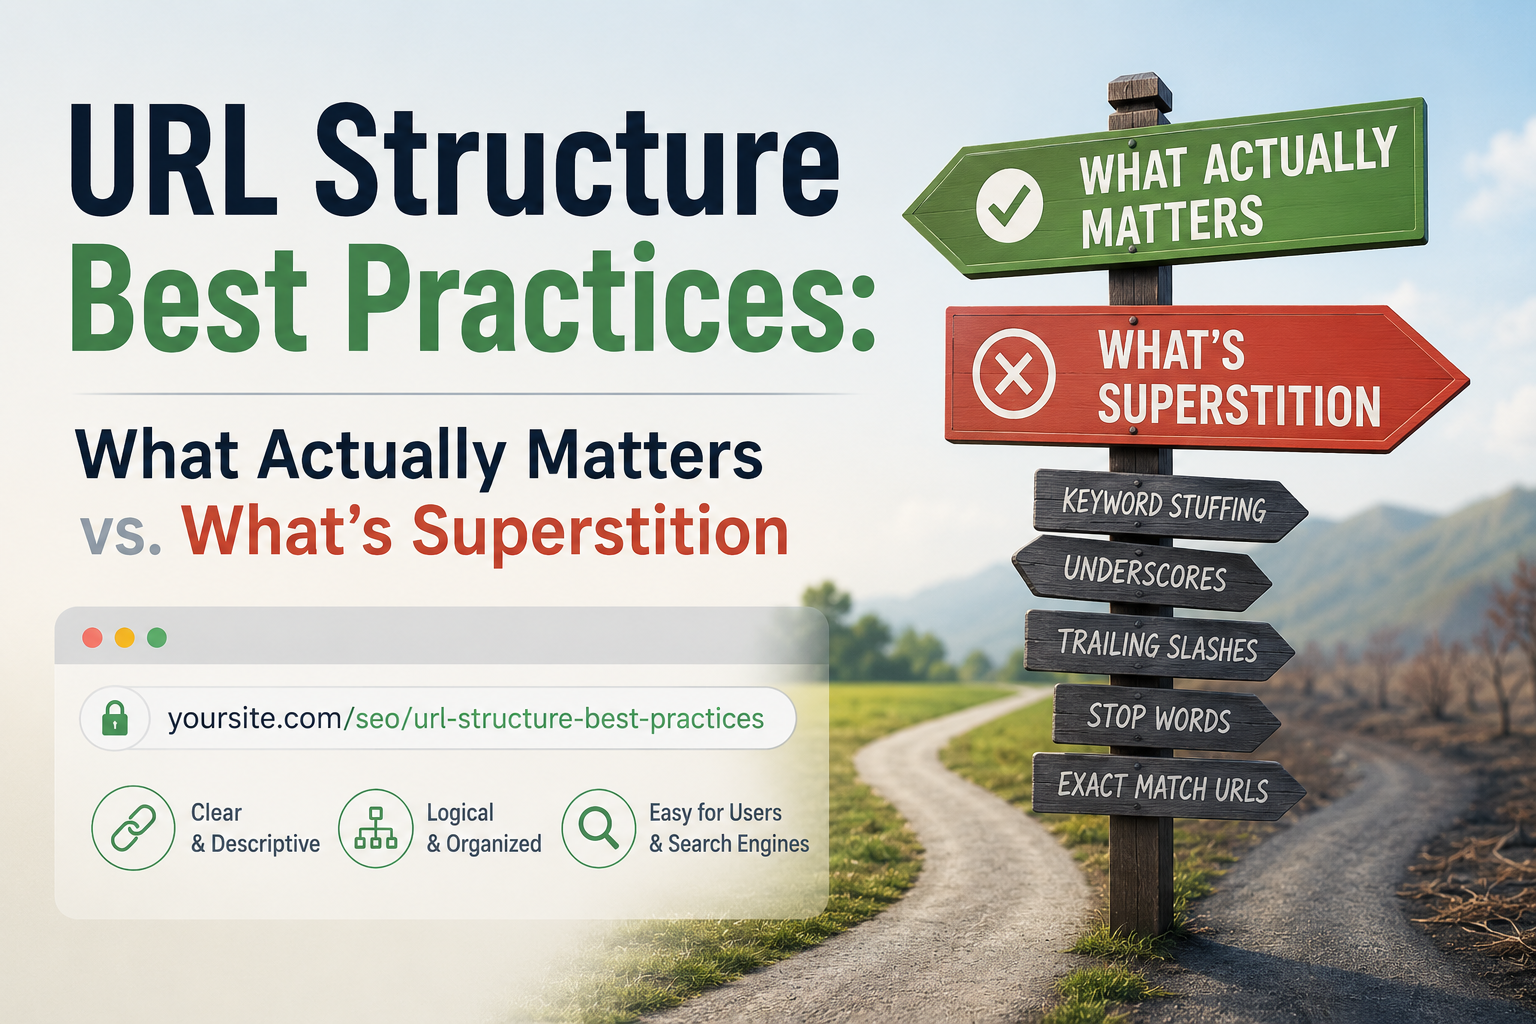
Before Google even renders an image or reads its alt text, the file name itself already carries information. Something like IMG_7489.jpg tells a search engine absolutely nothing. Something like tropical-green-smoothie-recipe.jpg communicates exactly what’s in the photo before any visual analysis happens. This is a real ranking signal, and it costs nothing: rename images descriptively before uploading, using genuine words separated by hyphens rather than underscores or spaces. Google parses hyphens as word breaks, while underscores get read as one fused term. It’s a small task per image with a lasting payoff.
Writing Alt Text That Actually Works
Alt text is arguably the single most impactful image SEO habit that gets neglected, and it serves two purposes simultaneously: helping screen-reader users understand what’s shown, and giving Google one of its strongest signals about what an image depicts and which searches it’s relevant to. Effective alt text describes what’s genuinely present, in plain, natural phrasing. For product photography, that often means naming the brand, color, and a distinguishing feature rather than a generic label like “shoe.” For an image supporting a point in an article, it means describing what that image is specifically illustrating in context, not a generic caption that could apply to any similar photo anywhere online.
The mistake to avoid is using alt text to cram in extra keywords. Alt text that reads like a list of search terms rather than an honest description tends to perform worse, and it also fails the accessibility purpose it exists for. When an image is purely decorative the right move is an empty alt attribute rather than forcing a description, since that tells screen readers to skip past it instead of reading out something meaningless.
Choosing the Right Format
Format choice has the biggest single effect on how much an image weighs down a page, and this has genuinely shifted in recent years. WebP is now a safe default everywhere: every major browser supports it, it produces noticeably smaller files than JPEG or PNG at comparable visual quality, and it supports transparency, meaning it can replace PNG in nearly every use case. AVIF pushes this further, frequently beating JPEG by a wide margin on file size, though it takes more time to encode and a small sliver of older browsers still lag in support. The most future-proof setup serves AVIF first, falls back to WebP, and falls back again to JPEG or PNG for edge cases, using the HTML picture element so the browser picks automatically. If your platform can’t handle that tiered setup, defaulting to WebP alone still captures most of the benefit.
Compression Without Losing Quality
Even in a modern format, an oversized file still drags down a page. The common mistake is uploading a photo at its full native resolution — several megabytes straight from a phone or camera — and letting the browser shrink it visually while the full file weight still has to be downloaded. The fix is compressing images before upload and sizing them to match how large they’ll actually appear, rather than shipping a four-thousand-pixel-wide photo into an eight-hundred-pixel column. Free tools like Squoosh, or the automated pipelines built into many CMS platforms, can apply lossy compression at a quality level where the difference is invisible while shrinking file size substantially. As a rough guideline, aim for hero and above-the-fold images to stay under a few hundred kilobytes, with supporting images well below that, adjusted for how visually complex each image is.
Preventing Layout Shift and Protecting Page Speed
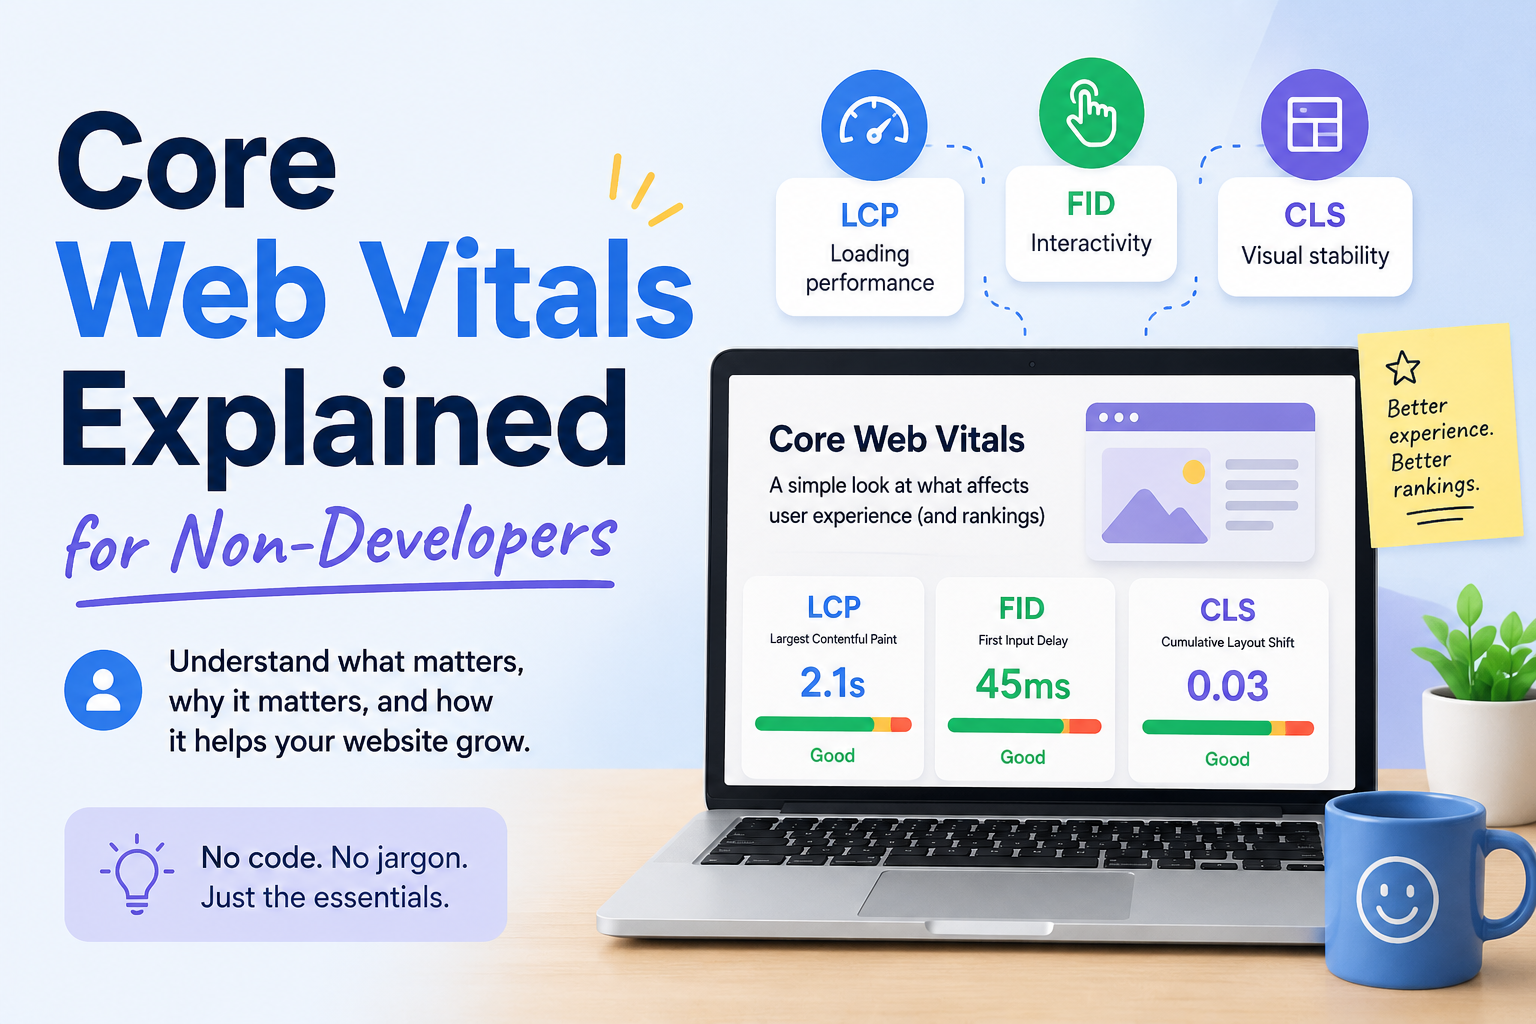
Two more technical habits round this out. First, always set width and height attributes on image elements, or define an aspect ratio in CSS, so the browser reserves the right amount of space before the image finishes loading. Skipping this is a leading cause of layout shift, where page content jumps around as images pop in — something that hurts both the user experience and your Core Web Vitals score. Second, apply lazy loading to anything below the fold so the browser isn’t wasting bandwidth on images the visitor hasn’t scrolled to yet, but make sure your single most important image — typically the hero image — is excluded from lazy loading and prioritized to load right away, since it usually determines your Largest Contentful Paint score.
Structured Data and Discoverability
Beyond the image file itself, a bit of structured data can help Google understand an image’s role on the page, especially for product photos or a page’s main representative image. This isn’t necessary for most content, but it’s a low-effort addition worth making on e-commerce pages, where product schema that includes image properties can meaningfully change how a listing shows up in search results. For a typical blog, nailing the fundamentals — descriptive file names, honest alt text, a modern format, and sensible compression — covers nearly all of the upside.
Building This Into Your Workflow, Not Treating It as a Separate Project
The real failure point usually isn’t a lack of knowledge, since none of it feels urgent the moment a page goes live. Before publishing, take a moment to confirm every image has a genuine file name, real alt text, a modern format, and a reasonable file size. Making this part of your standard publishing checklist is what actually keeps an image library in good shape as a site grows — instead of letting the same oversight repeat across hundreds of pages until a bigger cleanup becomes unavoidable.